how to
BAKE bread
in figma draw
A 10-step illustration tutorial.

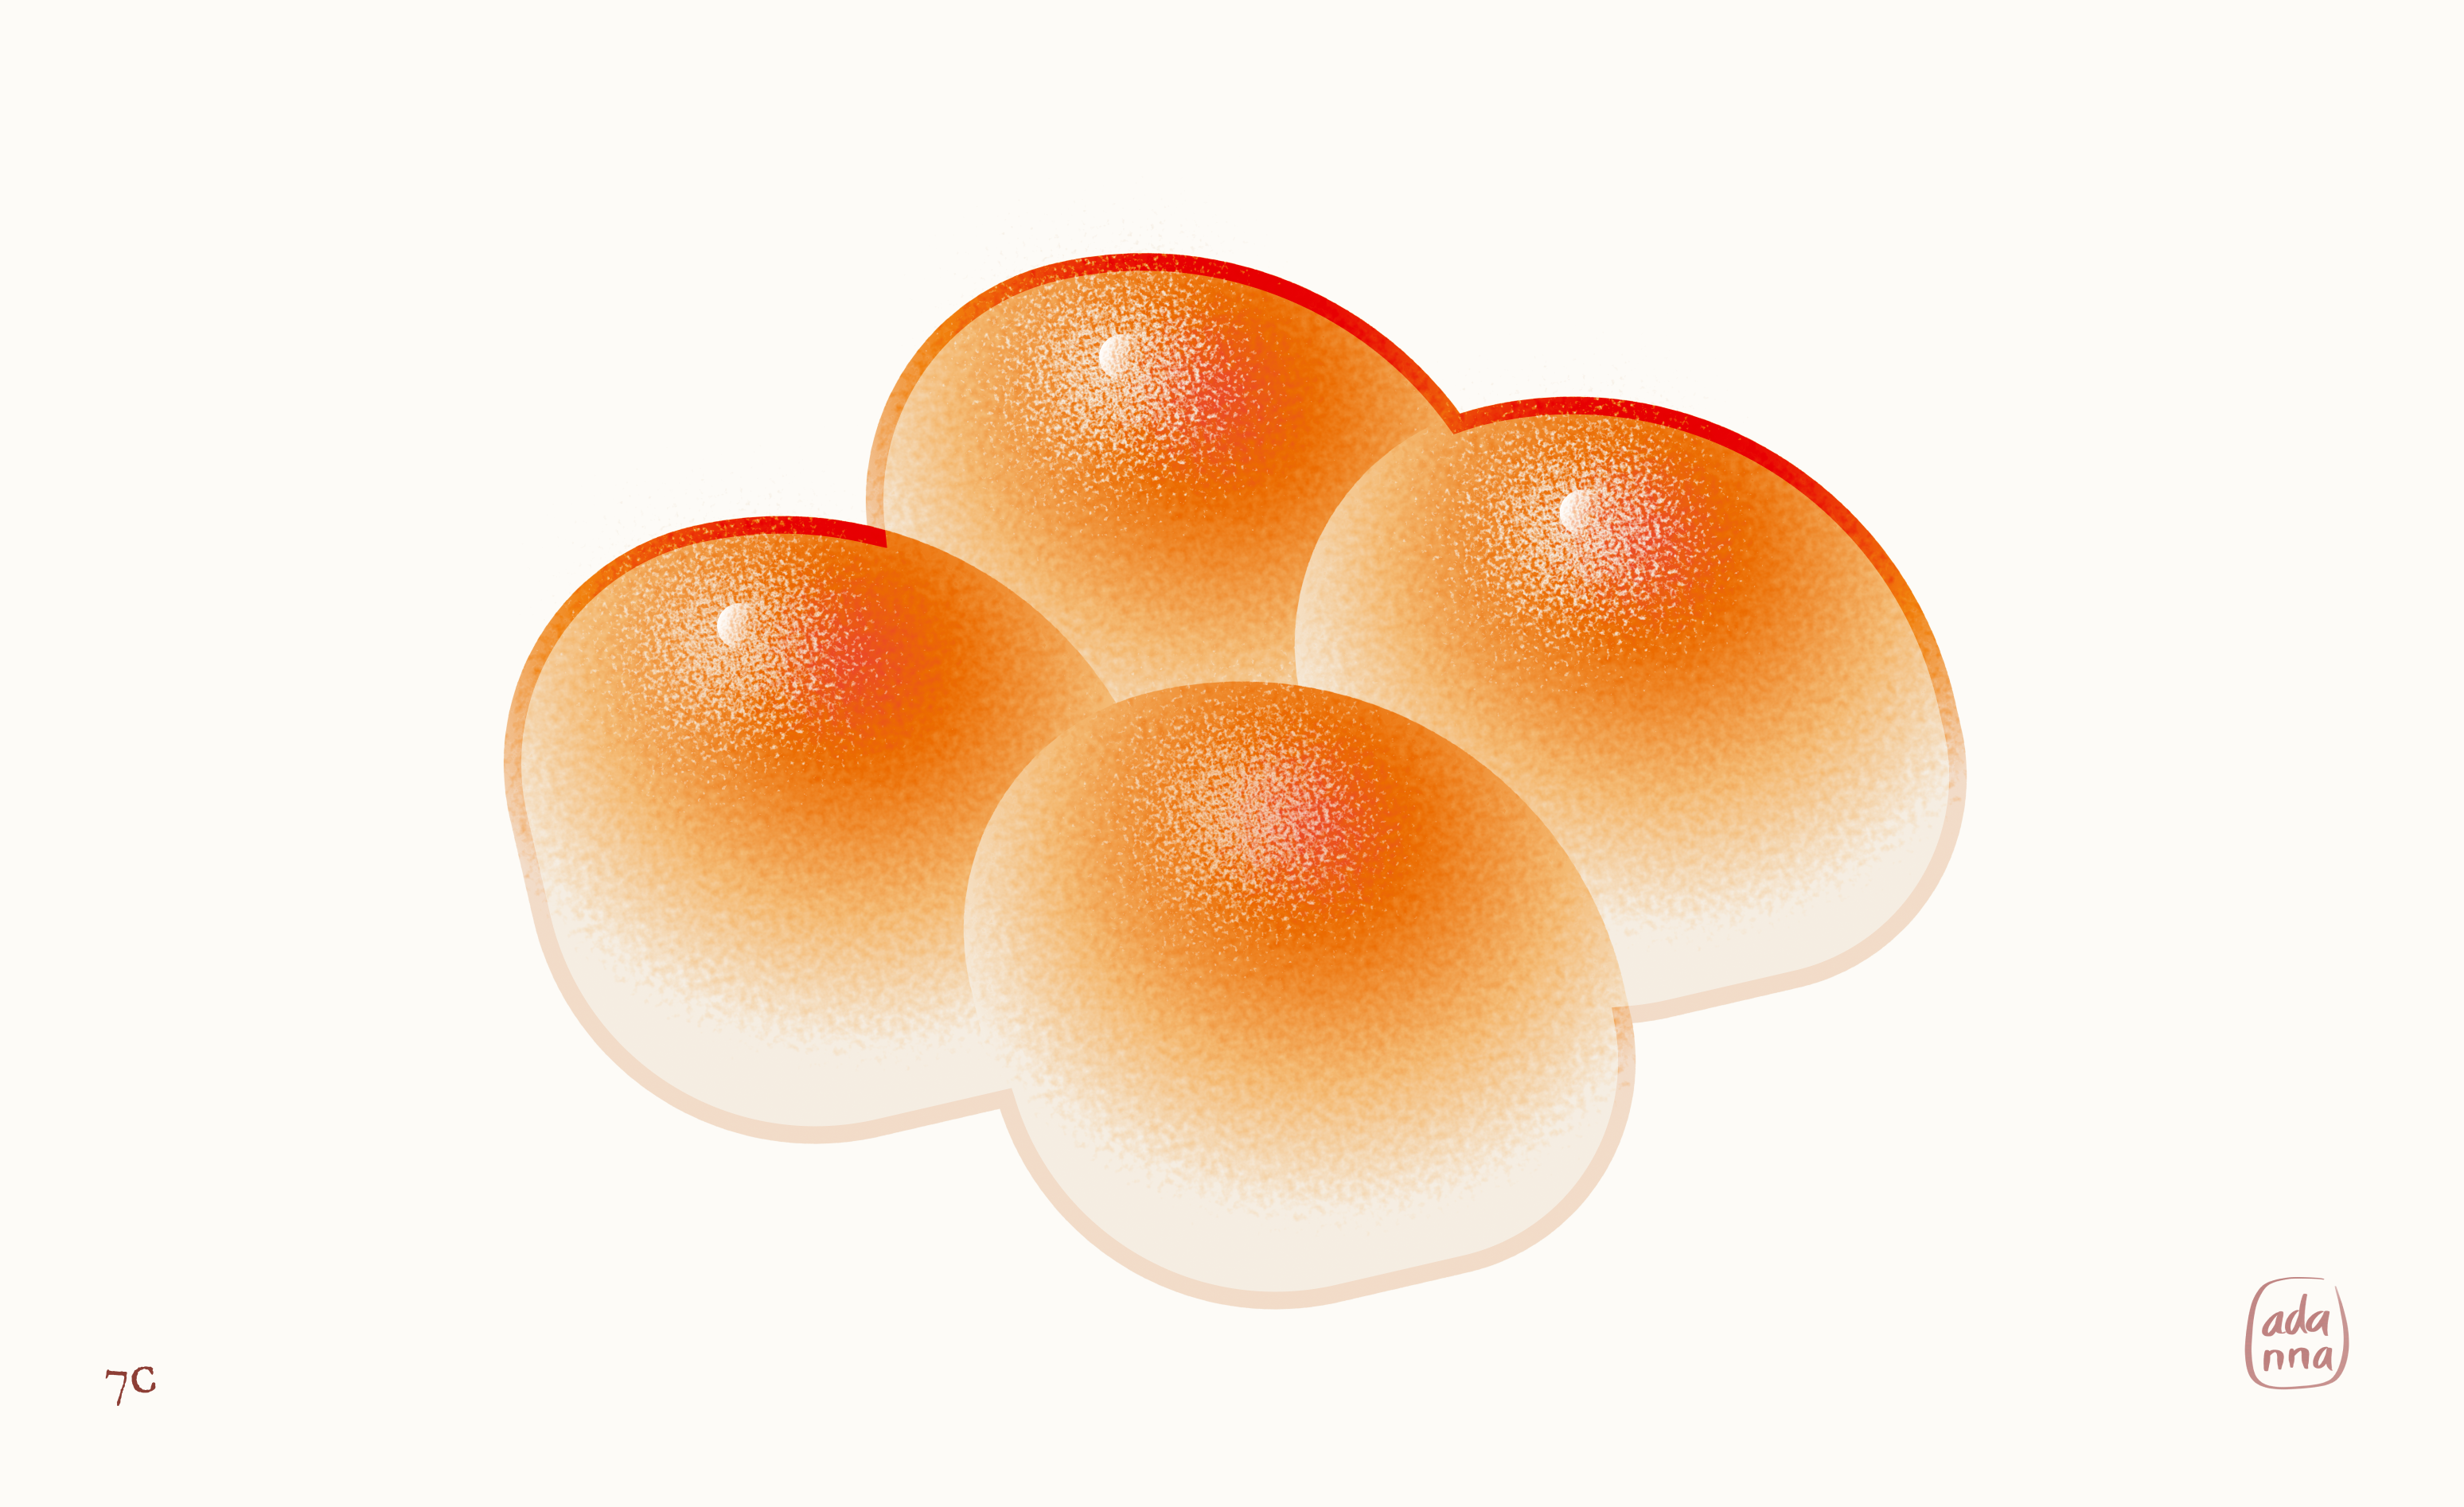
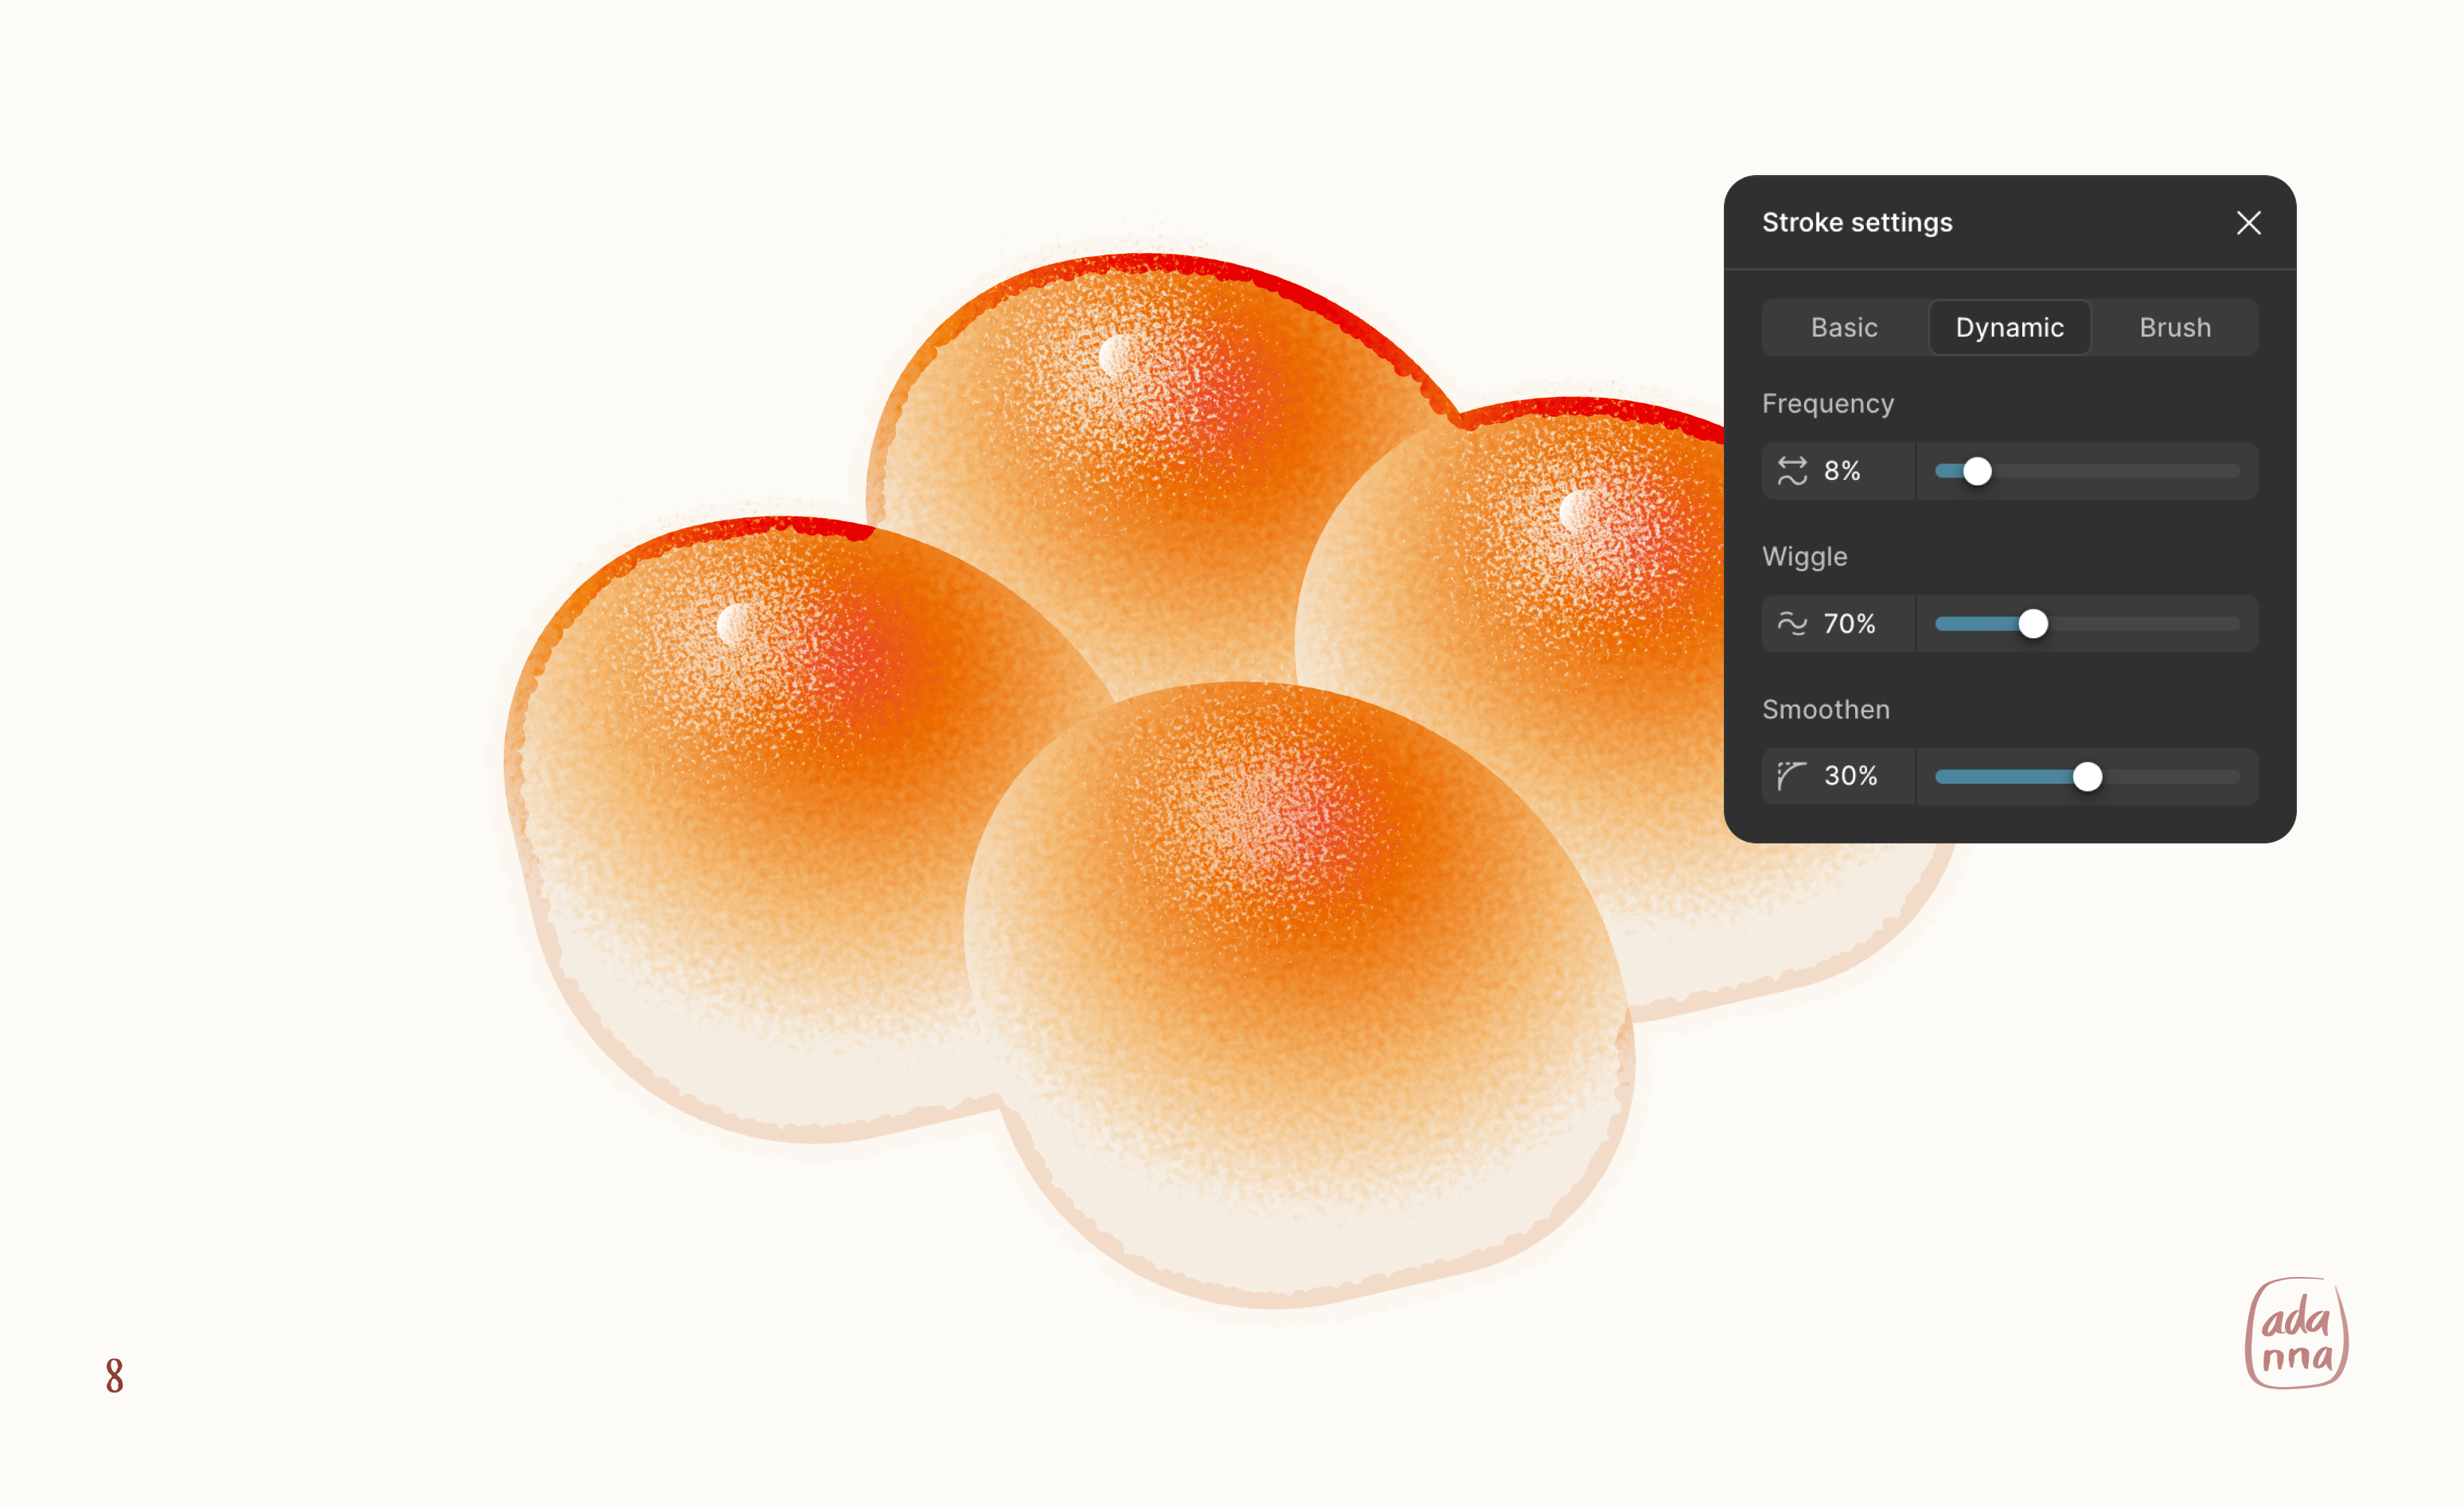
Hello! My name is Adanna and I recently got a chance to create a Bread themed logo for Figma (yay) and thought I would share my process on how to illustrate bread in Figma Draw. I initially made this website and bread illustrations to try out the design workflow from Figma Draw to Figma Sites. Thanks for visiting and let’s get started! 🍞 🥐


BTS of my Figma Bread Logo 🎉
how to BAKE bread
in figma draw
A 10-step illustration tutorial.
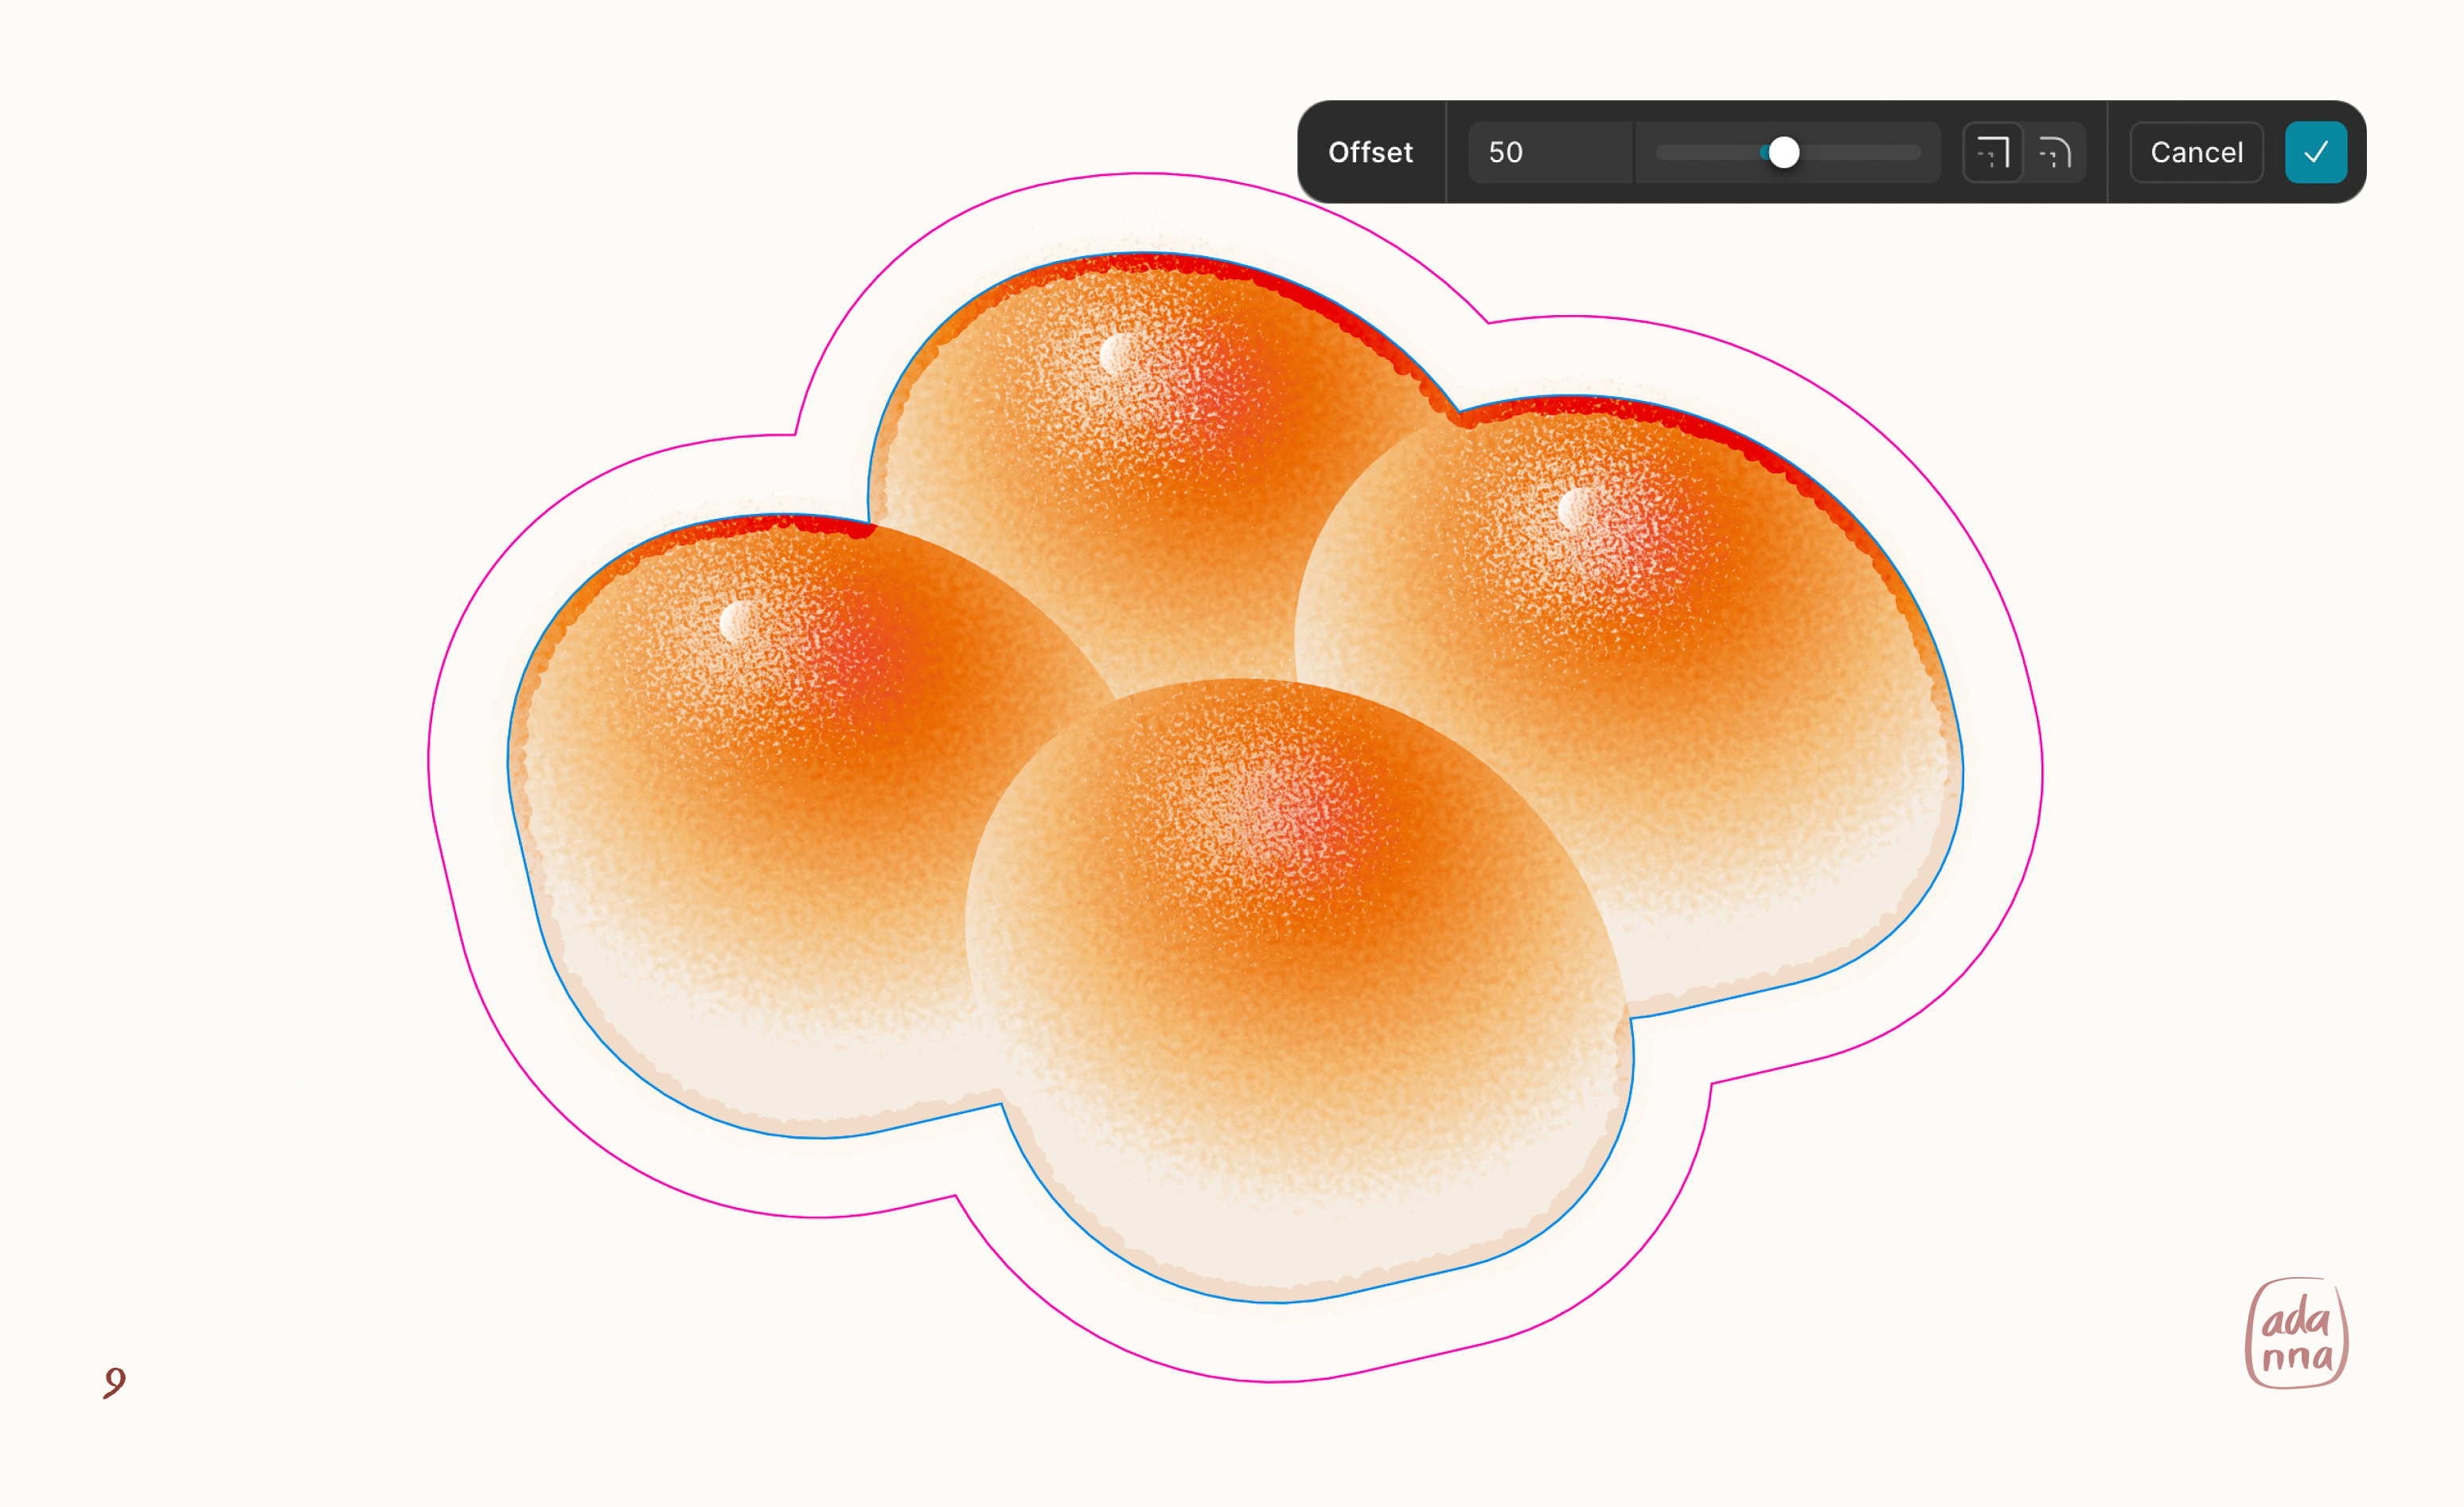
Hello! My name is Adanna and I recently got a chance to create a Bread themed logo for Figma (yay) and thought I would share my process on how to illustrate bread in Figma Draw. I initially made this website site and bread illustrations to try out the design workflow from Figma Draw to Figma Sites. Thanks for visiting and let’s get started! 🍞 🥐


BTS of my Figma Bread Logo 🎉